- Published on
- View count
How to install Next.js in Windows with WSL2
- Authors

- Name
- Francisco Moretti
- @franmoretti_
Are you interested in setting up a development environment to run a Next.js example on your Windows computer? In this tutorial, I'll show you how to install the necessary tools and software to get started. By the end of this tutorial, you will have a Next.js example running on your Windows 11 machine.
Note: If you already have an Ubuntu distribution, you can skip the previous steps and go straight to the tutorial How to Install Next.js in Ubuntu 22.
Step 1: Download and Install VS Code
Before we get started, we need to have VS Code installed. Simply download it from the official site and follow the install instructions.
Step 2: Install the Remote - WSL Extension for VS Code
To connect to WSL, you'll need to install the Remote - WSL extension for VS Code. To do this, open the extension panel with ctrl+shift+X and search for ms-vscode-remote.remote-wsl (WSL). Click on install to add the extension.
Step 3: Install Windows Terminal
Windows Terminal is a modern host application for the command-line shell. It allows you to run commands in Windows.
- Open the Microsoft Store and install
Windows Terminal - Launch the Terminal by typing
Terminalin the Windows search bar.
Step 4: Install WSL2
WSL2, or Windows Subsystem for Linux, allows you to use a Linux environment within your Windows operating system. This gives you the hardware support of Windows and the software flexibility of Linux.
Windows Requirements
This tutorial was created in Windows 11 but you can use any of the following Windows versions: - Windows 10 version 2004 and higher (Build 19041 and higher) - Windows 11.
Why WSL2?
The Windows subsystem for Linux has the following advantages:
- You get the hardware support of Windows and the software flexibility of Linux.
- The integration between Windows and Linux is impressive. Very few steps are required to set it up.
- It has great performance to run web applications.
- Most servers run Linux, and you want to develop and test in a similar system.
- It keeps your host OS clean. You’ll install most development dependencies in the WSL2 environment.
Install an Ubuntu distribution with WSL
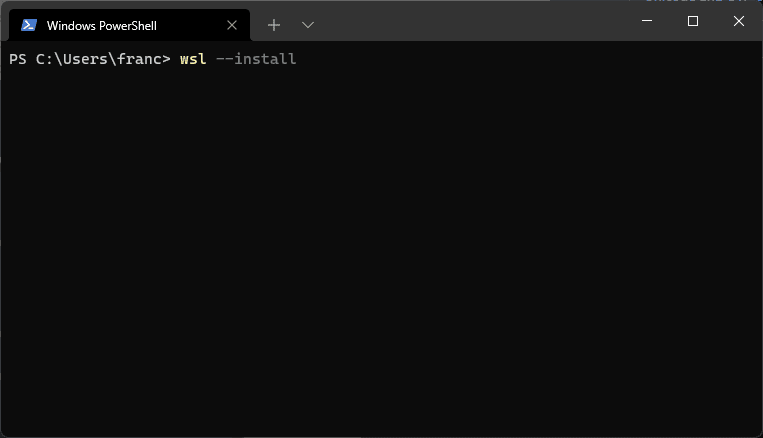
To install an Ubuntu distribution in WSL2 simply run the following command in PowerShell in the windows terminal.
wsl --installFor additional resources, check the Microsoft website.
Note: You'll need to reboot system after installing it.
After a few minutes, you should be able to open it in a new Terminal tab. The first time you run your WSL2 Ubuntu distribution, you will need to do a few setup steps. Just follow the instructions that appear in the Ubuntu bash tab.
Follow the instructions that appear in the Ubuntu bash tab to complete the setup.
Step 5: Open with VS Code
Now that you've set up WSL2, it's time to open it with VS Code. There are two ways to do this:
Option 1
From the Ubuntu session in the terminal, run:
code ~Option 2
Open the VS Code application in Windows and open the command palette (Ctrl+Shift+P). Type WSL: Connect to WSL and then open the home folder ~ or /home/<username>.
Note: the first time you run vscode in Ubuntu it will install the VS Code server.
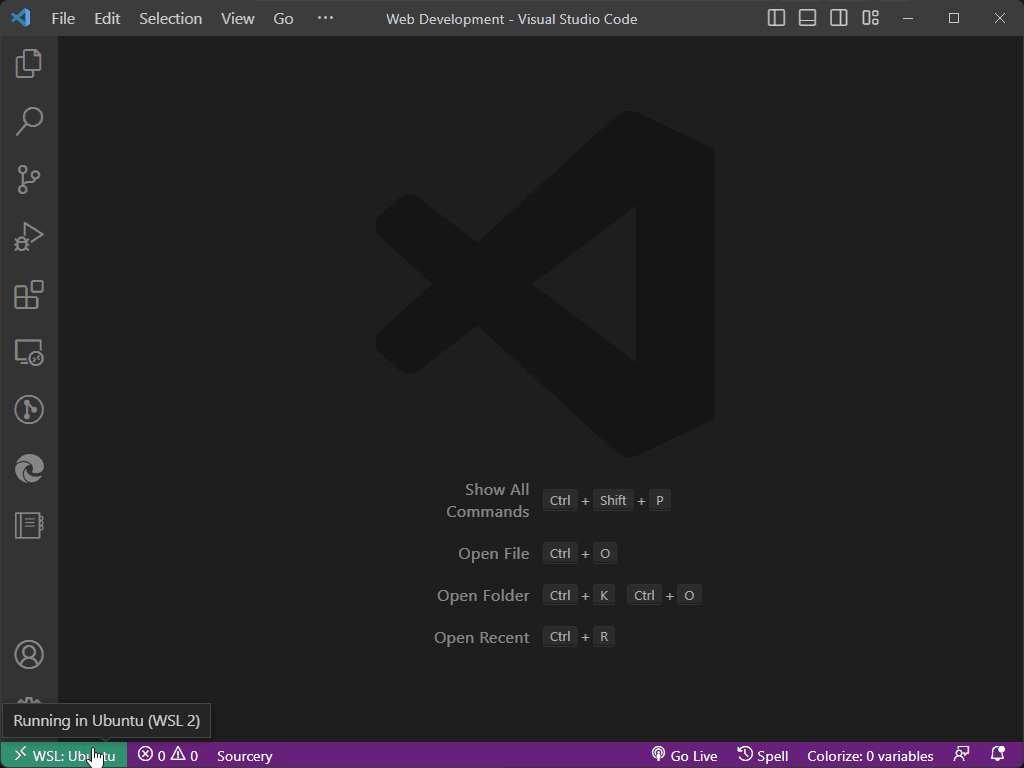
After following these steps, you should be able to open your Ubuntu distribution with VS Code and start developing your Next.js app. You should be able to see WSL: Ubuntu in the bottom-left corner indicator.
Step 6: Installing and Running Next.js in Your WSL Ubuntu Distribution
After setting up VS Code, Remote-WSL extension, Windows Terminal, and an Ubuntu distribution with WSL2, you can now continue in your WSL Ubuntu distribution to install and run Next.js. Simply follow the instructions in How to Install Next.js in Ubuntu 22.
Conclusion
Congratulations! You have successfully installed Next.js on your Windows computer using WSL2. You now have a web development environment set up and can start developing your Next.js app. Happy coding!